Webshipper
Add webshipper to simply integrate one of your already configured shipping carriers. Below we explain how authentication details are filled when configuring carriers on the Portal Configuration page in your Float dashboard.
Gathering authentication details
-
We require the following details to automatically generate shipping labels on return order registrations:
- Service Code
- Carrier Id
- Domain
- API Key
-
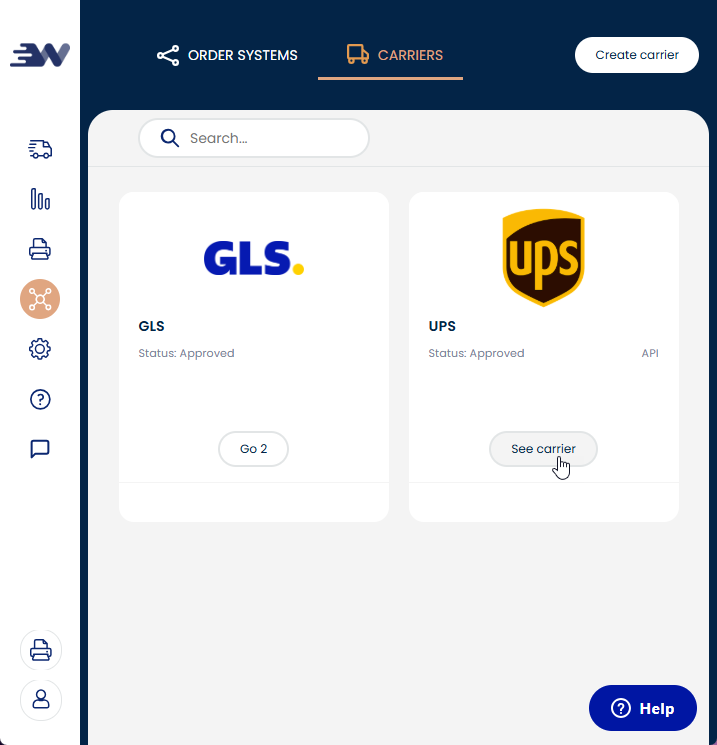
In a separate tab, head over to your internal Webshipper configuration. Navigate to Connect -> Carriers and choose the carrier you would like to use.

-
The URL of your Webshipper page is important. It should look like this, for example,
https://X.webshipper.io/connect/carriers/Y/update.- Copy the subdomain name, marked as
Xabove, and paste it into the Domain field of the authentication details. - Also, copy the carrier id, marked as
Yabove, and paste it into the Carrier Id field of the authentication details.
- Copy the subdomain name, marked as
-
Now, select a carrier service from the list of services (positioned below the carrier logo on the right), and copy the selected service identifier to paste it into the Service Code field of the authentication details. For example, if the service name you want to select is
11 UPS Standard Return(11_RETURN)then11_RETURNneeds to be copied into the Service Code field. -
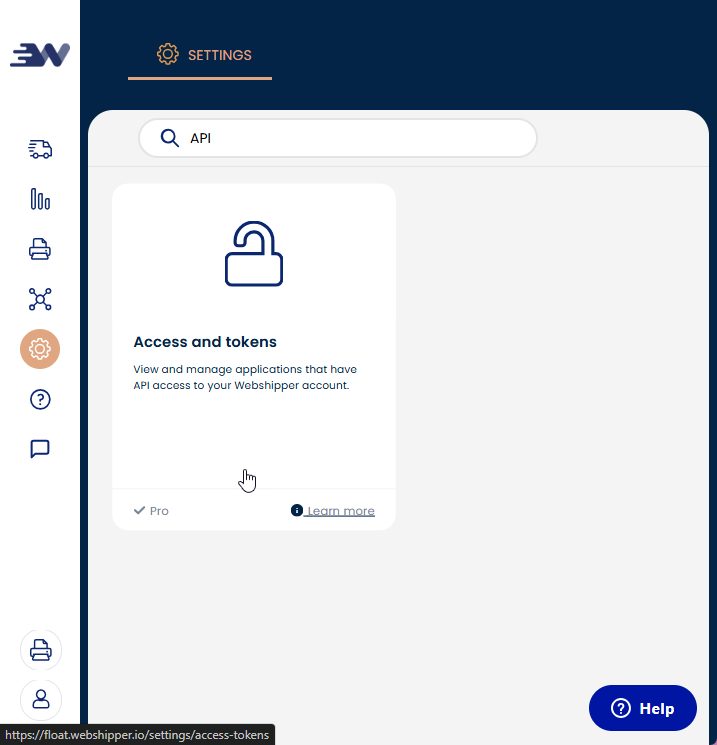
Finally, we need a Webshipper API token. Navigate to Settings -> Access and Tokens.

-
Create a new API token with all access rights. Webshipper will present you the token once in a popup. Copy it and paste it into the Api Key field of the authentication details.
-
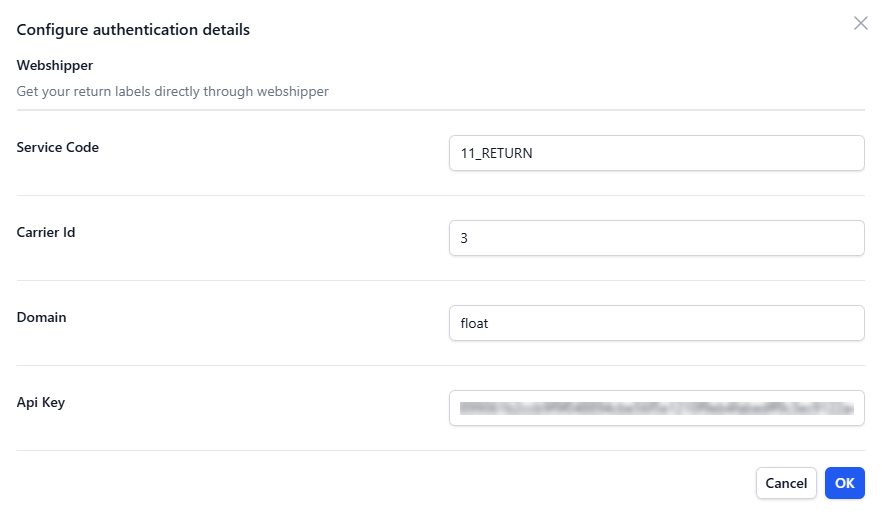
Verify authentication details. Below you see a filled-in example based on a carrier page URL
https://float.webshipper.io/connect/carriers/3/updateand a selected service identifier11_RETURN.
-
Follow the steps for adding a shipping carrier here.
Updated about 1 year ago
